How Much Does the Revisado Vehicle Inspection Cost in Panama?
Oh, the revisado – just thinking about it can make many expats in Panama sigh. It's one of those essential but often bewildering tasks that comes with owning a car here. If you're wondering how much the vehicle inspection costs in Panama, and what exactly it entails, you've come to the right place. We're going to break down this crucial process, so you're not caught off guard and can navigate it with a bit more confidence, ensuring you get your annual placa (license plate sticker) without too much hassle.
Decoding the Annual Vehicle Inspection in Panama
When you own a vehicle in Panama, whether it's a shiny new import or a trusty old workhorse, it's mandatory to get it inspected annually. This isn't just a suggestion; it's a non-negotiable requirement overseen by the Autoridad del Tránsito y Transporte Terrestre (ATTT), Panama's transit authority. This annual check is officially known as a Revisado Técnico Vehicular, or simply "the revisado" to most folks. It's a comprehensive safety and emissions inspection designed to ensure all vehicles on Panamanian roads are up to a certain standard, for the safety of everyone.
What Exactly is the Revisado?
Think of the revisado as your car's annual physical. It's a detailed examination of your vehicle's key components to verify they are in good working order and meet national safety and environmental standards. The goal is to catch potential problems before they lead to accidents or excessive pollution. For many expats, it's just another hoop to jump through, but it's a necessary one. Without a valid revisado, you simply cannot renew your vehicle's placa, which is that all-important sticker that proves your car is legally registered and allowed on the road for the current year. Driving without a current placa is an open invitation for a traffic stop and a hefty fine.
The inspection covers a wide range of elements, from the obvious like headlights and tires, to the less visible, such as emissions. It’s not uncommon for expats to feel a bit lost in the process, especially if their Spanish isn't fluent, or if they're used to different inspection standards from their home country. The key is to be prepared and understand what's expected. For those of you who've recently had to navigate the administrative maze to get your Panamanian driver's license, you know that patience is a virtue here, and the revisado is no different.
Why is This Annual Check Mandatory?
You might wonder why Panama, a country known for its sometimes-relaxed approach to rules, is so strict about vehicle inspections. The reasons are pretty straightforward and actually quite important for public safety and environmental health. Firstly, it’s about road safety. Panama’s roads can be challenging, with everything from bustling city traffic to winding mountain passes. Ensuring vehicles have working brakes, proper steering, and good tires significantly reduces the risk of accidents. You see enough incidents on the roads here to truly appreciate the need for safety checks.
Secondly, emissions are a growing concern in densely populated areas like Panama City. The revisado includes an emissions test to help control air pollution. While perhaps not as stringent as some European standards, it's a step towards cleaner air. Thirdly, and perhaps most pragmatically, it's a revenue generator for the government and a way to ensure all vehicles are properly registered. Without the revisado, the ATTT wouldn't issue your annual placa, and without the placa, you're driving illegally. It's all part of the larger bureaucratic system that keeps things ticking, just like having to register your car in Panama itself.
Breaking Down the Revisado Costs
When it comes to the revisado, the cost isn't just a single flat fee. You have the official inspection fee, but then there are potential additional costs that can quickly add up if your vehicle isn't in tip-top shape. It’s important to budget for both the direct inspection fee and the possibility of having to address issues before your car passes.
The Official Inspection Fees
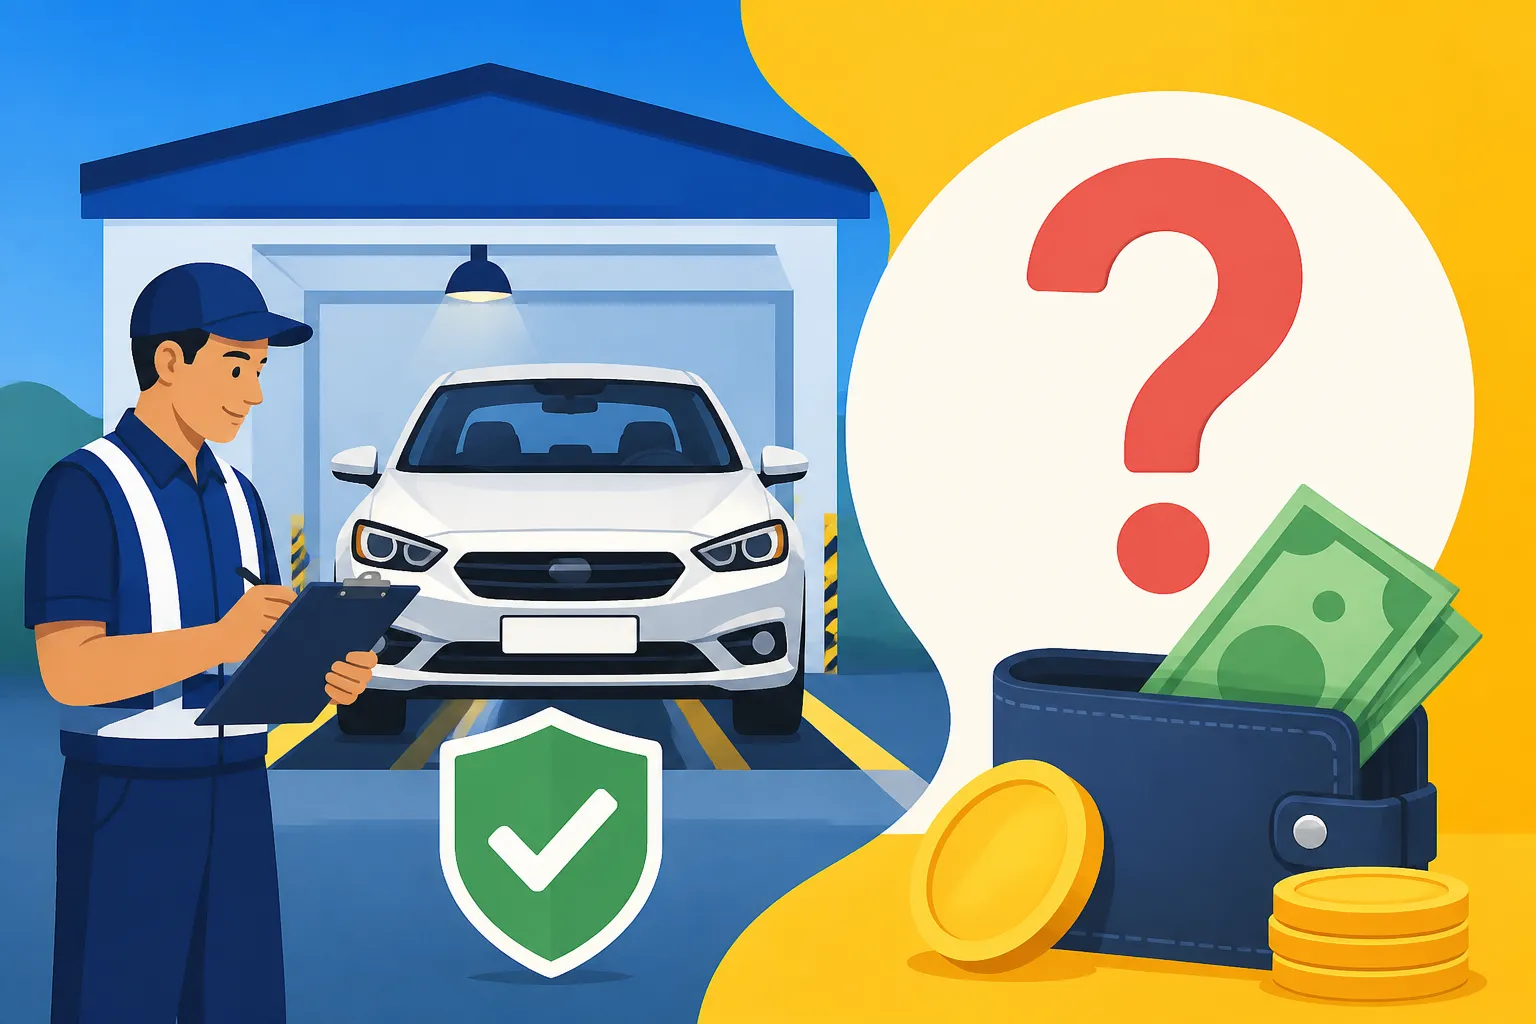
The official fees for the revisado are set by the ATTT and can vary slightly depending on the type of vehicle. These fees are generally quite reasonable on their own, often feeling like one of the more straightforward administrative costs you'll encounter here. These amounts are typically paid directly at the authorized inspection centers (Centros de Revisión Técnica Vehicular, or CRTVs).
Here’s a general breakdown of what you can expect for the primary categories of vehicles:
| Vehicle Type | Approximate Revisado Fee (USD) | Notes |
|---|---|---|
| Private Car | $25.00 – $35.00 | Most common for expats. |
| Motorcycle | $15.00 – $25.00 | Slightly less, reflecting simpler mechanics. |
| Light Commercial | $30.00 – $40.00 | Pick-up trucks, smaller vans. |
| Heavy Commercial | $40.00 – $60.00 | Buses, larger trucks. |
| Re-inspection Fee | $5.00 – $10.00 | If your vehicle fails the first time and needs a re-check. |
Please note: These are approximate fees as of late 2023/early 2024. It's always a good idea to confirm the exact current fee with your chosen CRTV or the ATTT website, as prices can be adjusted periodically.
These fees are for the inspection itself. They do not include any repairs, parts, or mechanic services you might need. It's a common mistake for newcomers to only budget for this initial fee, forgetting about the potential "what ifs."
Potential Additional Costs
This is where the real cost of a revisado can emerge. If your car isn't perfectly maintained, the cost to actually pass the inspection can far outweigh the initial inspection fee. Expats often share stories of unexpected repairs that blew their budget, turning a simple annual check into a financial headache.
- Pre-Inspection Mechanic Check-Up: Many savvy expats opt to take their vehicle to a trusted mechanic before the official revisado. This pre-check is highly recommended and can cost anywhere from $30 to $100, depending on the mechanic and the thoroughness. It's a preventative measure that can save you time, frustration, and money in the long run by identifying issues that would cause a failure.
- Repairs for Failed Items: This is the big one. If your car fails any part of the inspection, you'll be given a list of deficiencies. These could range from minor issues like a blown headlight bulb (which might cost a few dollars to replace) to major problems like worn brake pads (which could be $50-$150 per axle, plus labor) or significant emissions issues (which might require engine tuning or catalytic converter replacement, potentially hundreds of dollars).
- Emissions Adjustments: Emissions failures are particularly common, especially for older vehicles. This might involve replacing spark plugs, air filters, or even more complex engine diagnostics and repairs. The cost here is highly variable, depending on the root cause.
- Tire Replacement: Inspectors are quite strict about tire tread depth and condition. If your tires are too worn or show signs of damage, you'll need to replace them. A set of new tires can easily run into several hundreds of dollars.
- Re-inspection Fee: If your car fails, you usually have a grace period (often 30 days) to make the repairs and bring it back for a re-inspection. There's typically a reduced fee for this second check, as shown in the table above, but it's still an added expense.
- Transportation Costs: While not directly a revisado cost, consider the fuel and time spent driving to and from the inspection center, and potentially to a mechanic. If your car fails, this means multiple trips. It's worth remembering that while you're driving around taking care of these errands, having an effective mobile data plan, perhaps through a convenient eSIM from a provider like Airalo, can be really useful for navigation or just staying connected during waiting times.
Ultimately, while the official revisado fee is small, the true cost hinges on your vehicle's condition. Getting a pre-check done by a trusted mechanic beforehand is almost always a wise investment.
Navigating the Revisado Process: A Step-by-Step Guide
The process for getting your revisado can seem intimidating at first, but once you understand the steps, it's quite manageable. It generally involves preparing your vehicle, gathering documents, going to an inspection center, and then dealing with the outcome.
Step 1: Prepare Your Vehicle for Inspection
This is arguably the most crucial step. A little proactive maintenance here can save you a lot of grief (and money) later.
- Pre-Check by a Mechanic: As mentioned, seriously consider taking your car to a mechanic for a thorough inspection before you head to the CRTV. Ask them to specifically check for items commonly failed during a revisado: lights (headlights, brake lights, turn signals, reverse lights), horn, windshield wipers, tire tread and pressure, brakes (pads, fluid), steering components, suspension, and emissions. This is also a good time to ask them about your car's general health, especially if you're trying to calculate your overall cost of living in Panama which includes car maintenance.
- Basic DIY Checks:
- Ensure all your lights are working.
- Check your horn.
- Make sure your windshield wipers aren't worn out.
- Top up all fluids (oil, brake fluid, coolant, windshield washer fluid).
- Check your tires for proper inflation and sufficient tread.
- Clean your car, especially the windshield and mirrors, and make sure your license plate is clean and visible.
Step 2: Gather Your Documents
You’ll need a few key documents to present at the CRTV. Make sure you have the originals, as photocopies might not always be accepted.
- Vehicle Registration (Registro Único Vehicular): This is the official document proving ownership and registration of your car.
- Previous Revisado Certificate (if applicable): If you've had a revisado before, bring the certificate from the previous year.
- Your Personal ID: Your Panamanian cédula (if you have one) or your passport. For details on getting your Panamanian driving license, you might refer to our guide on How to Get a Panamanian Driver's Licence.
- Current Insurance Policy: Proof of valid third-party liability insurance is mandatory.
Ensure all documents are current and in order. Missing or expired documents can lead to delays or refusal of service.
Step 3: Head to an Authorized Inspection Center (CRTV)
Panama has several authorized CRTVs. In Panama City, popular ones include those in El Crisol, La Chorrera, and on Via Centenario. You can usually find a list on the ATTT website or by asking around local expat groups. Some centers allow you to make an appointment online, which can save you a lot of waiting time. Others operate on a first-come, first-served basis.
- Arrival and Registration: When you arrive, you'll typically join a queue for registration. Present your documents and pay the revisado fee.
- The Inspection Lane: Once registered, you'll drive your car into the inspection lane. The inspectors will guide you through a series of stations where different aspects of your vehicle are checked. This includes:
- Visual Inspection: Lights, mirrors, windshield, bodywork, seatbelts.
- Brake Test: Performed on a roller dynamometer to check efficiency and balance.
- Suspension and Steering: Often involves driving over a specialized plate that checks for play and alignment.
- Tires: Tread depth, condition, and matching.
- Emissions Test: A probe is inserted into your exhaust pipe to measure pollutants.
- Underbody Inspection: Checking for leaks, rust, and structural integrity.
- Receiving the Results: Once the inspection is complete, you'll receive a report detailing whether your vehicle passed or failed, and any observations or recommendations.
Step 4: Dealing with the Outcome
- If You Pass: Congratulations! You'll receive your revisado certificate. You can then proceed to renew your placa at your municipality or a regional ATTT office. This is a separate step from the inspection itself. For a full breakdown, check out our guide on How Do I Renew My Car Registration in Panama?.
- If You Fail: Don't panic, but don't ignore it. You'll get a detailed report explaining why your vehicle failed. You'll need to get the specified repairs done within a given timeframe (usually 30 days) and then bring your vehicle back for a re-inspection of only the failed items. This is where that pre-check becomes invaluable; it drastically reduces the chances of failing.
Common Reasons for Failing the Revisado
Understanding the typical failure points can help you be better prepared. These are the things that often trip up both locals and expats.
Emissions Test Failure
This is a frequent culprit, especially for older vehicles. If your car is emitting too many pollutants, it won't pass. This can be due to:
- Worn Spark Plugs: Affects combustion efficiency.
- Clogged Air Filter: Restricts airflow, leading to incomplete combustion.
- Faulty Oxygen Sensor: Provides incorrect data to the engine's computer, messing with the air-fuel mixture.
- Catalytic Converter Issues: These are expensive to replace, so regular maintenance is key.
It's wise to get your engine tuned up and have emissions checked by a mechanic before the revisado if you have any doubts.
Lighting Malfunctions
It sounds simple, but surprisingly often, vehicles fail because of basic lighting issues:
- Blown Bulbs: Headlights, taillights, brake lights, turn signals, or even reverse lights. Inspectors check them all.
- Incorrect Aim: Headlights that are aimed too high or too low.
- Cracked Lenses: Minor cracks can sometimes lead to a failure, especially if they affect light output.
Always double-check all your lights yourself before you go, or ask your mechanic to do so.
Worn Tires and Brakes
These are critical for safety, so inspectors are very strict:
- Insufficient Tread Depth: Tires that are too worn won't provide adequate grip, especially in Panama's rainy season.
- Damaged Tires: Sidewall bulges, significant cuts, or uneven wear patterns will cause a failure.
- Worn Brake Pads/Discs: If your brakes are metal-on-metal or severely worn, you'll definitely fail.
- Brake Imbalance: If one side of your vehicle's brakes is much stronger than the other, it can cause steering issues during braking.
Ensure your tires are in good condition and your brakes have been serviced recently.
Other Common Failures
- Suspension Issues: Worn shock absorbers, loose ball joints, or broken springs can affect handling and stability.
- Steering Problems: Excessive play in the steering wheel or worn components can be dangerous.
- Windshield Cracks: Any significant crack that obstructs the driver's view or compromises the windshield's integrity.
- Faulty Horn: Believe it or not, a non-working horn is a common reason for failure.
- Non-functional Wipers: Essential for visibility during Panama's frequent downpours.
Being aware of these points can help you prepare better and pass your revisado on the first try, saving you the headache of re-inspections and unexpected repair bills. Just like planning your entire move with platforms like Sirelo helps organize the big picture, understanding the revisado details saves you headaches later.
Tips for a Smooth Revisado Experience
Going through the revisado doesn't have to be a nightmare. A little preparation and knowing what to expect can make it a relatively smooth process. Here are some seasoned expat tips:
Get a Pre-Inspection Done
This cannot be stressed enough. Take your car to a trusted mechanic a week or two before your revisado is due. Ask them to perform a "pre-revisado check" and address any potential issues. This upfront investment of perhaps $30-$100 can save you hundreds in emergency repairs and the hassle of multiple trips to the CRTV. It's much better to fix things on your own schedule than under pressure after a failed inspection. Many local garages are familiar with the common failure points and can give you an honest assessment.
Have All Your Documents in Order
Before you even leave your driveway, double-check that you have your current vehicle registration, proof of insurance, and your ID (cédula or passport). Make sure they are originals, not copies. There’s nothing more frustrating than getting to the front of the line only to be turned away for missing paperwork. A common expat frustration here is the endless paper chase, so get ahead of it with this particular task. If you're wondering how your residence status affects other aspects of life here, our guide on How Your Residence Status Affects Health Coverage in Panama can provide some context, though it's not directly related to vehicle documents.
Arrive Early
Especially if your chosen CRTV doesn't offer appointments, arriving early can significantly cut down on your waiting time. Many centers open around 7:00 or 7:30 AM. Getting there within the first hour can mean being one of the first few cars through, rather than waiting for hours in the midday heat. While you're waiting, having reliable internet connectivity can be a real boon – an eSIM from a provider like Airalo can keep you entertained or allow you to catch up on emails.
Keep Your Car Clean and Tidy
While not strictly part of the mechanical inspection, a clean car can give a good first impression. It suggests you care for your vehicle. More practically, ensure your windshield, mirrors, and lights are spotless for accurate inspection. Make sure your license plates are clean and legible.
Understand the Process and Be Patient
The CRTVs can be busy, and the process, while standardized, might feel slow. Don't be afraid to ask questions if you don't understand something (a little Spanish helps here, or bring a friend who speaks it). Maintain a polite demeanor with the inspectors. Remember, they're just doing their job. A calm and cooperative attitude can go a long way. This is just one of many regular processes, much like understanding How to Register with the CSS (Caja de Seguro Social) in Panama or navigating local banks.
By taking these steps, you'll significantly increase your chances of passing the revisado on the first attempt and make the entire experience much less stressful. It's all part of adapting to life in Panama!
Disclaimer
Please remember that the information provided in this guide is for general informational purposes only and is subject to change. Vehicle inspection fees, requirements, and processes are determined by the Panamanian Autoridad del Tránsito y Transporte Terrestre (ATTT) and can be updated without prior notice. Always consult the official ATTT website or your chosen Centros de Revisión Técnica Vehicular (CRTV) for the most current and accurate information. It is also advisable to consult with a local legal expert or trusted mechanic for personalized advice regarding your specific vehicle and situation. We aim to provide up-to-date and practical advice based on expat experiences, but official regulations always take precedence.